NOTE: This article will assume you are familiar with AWS and EC2. If not, check the AWS EC2 documentation before continuing.
At the end of this article, you will have an AWS EC2 instance started with TrackIt installed, and you will be able to monitor and optimize your cloud yourself.
TIP: You can use TrackIt without any installation by using our infrastructure. Check our website on https://trackit.io.
Configuring an AWS EC2 Instance
In this section you will set up and start an instance on AWS EC2. This instance will have the recommended requirement for TrackIt. I recommend you check the EC2 pricing on the AWS website before launching an instance.
First, you need to know which region is the best for you by comparing the pricing and the latency of each one.
Once you have chosen your designated region, let’s go on the EC2 console and let’s click on Launch Instance.
AMI
Once you click on Launch Instance, it will display a panel as below.
We recommend using Ubuntu 16.04 LTS, you can search for it in the AWS Marketplace (on the left side). Once you have found it, click on the Select button.
WARNING: A panel should open with the pricing per hour. We are going to use a t2.medium instance. Take note on the price that it will cost per month.
Instance Type
Select the instance type as above and click on Next.
Instance Details
It’s recommended to leave the default fields.
TIP: Select Protect against accidental termination if you want avoid an accidental complete remove of your instance and its data.
Storage
The SSD Storage is highly recommended. The size is fully proportional to your bills and your AWS consumption since TrackIt will download, process, and store your billing files.
Set the size to a minimum of 32GB. We calculated that an account spending $300,000 a month in AWS takes around 50GB more. If you want to be serene, set the size to 64GB as above.
Tags
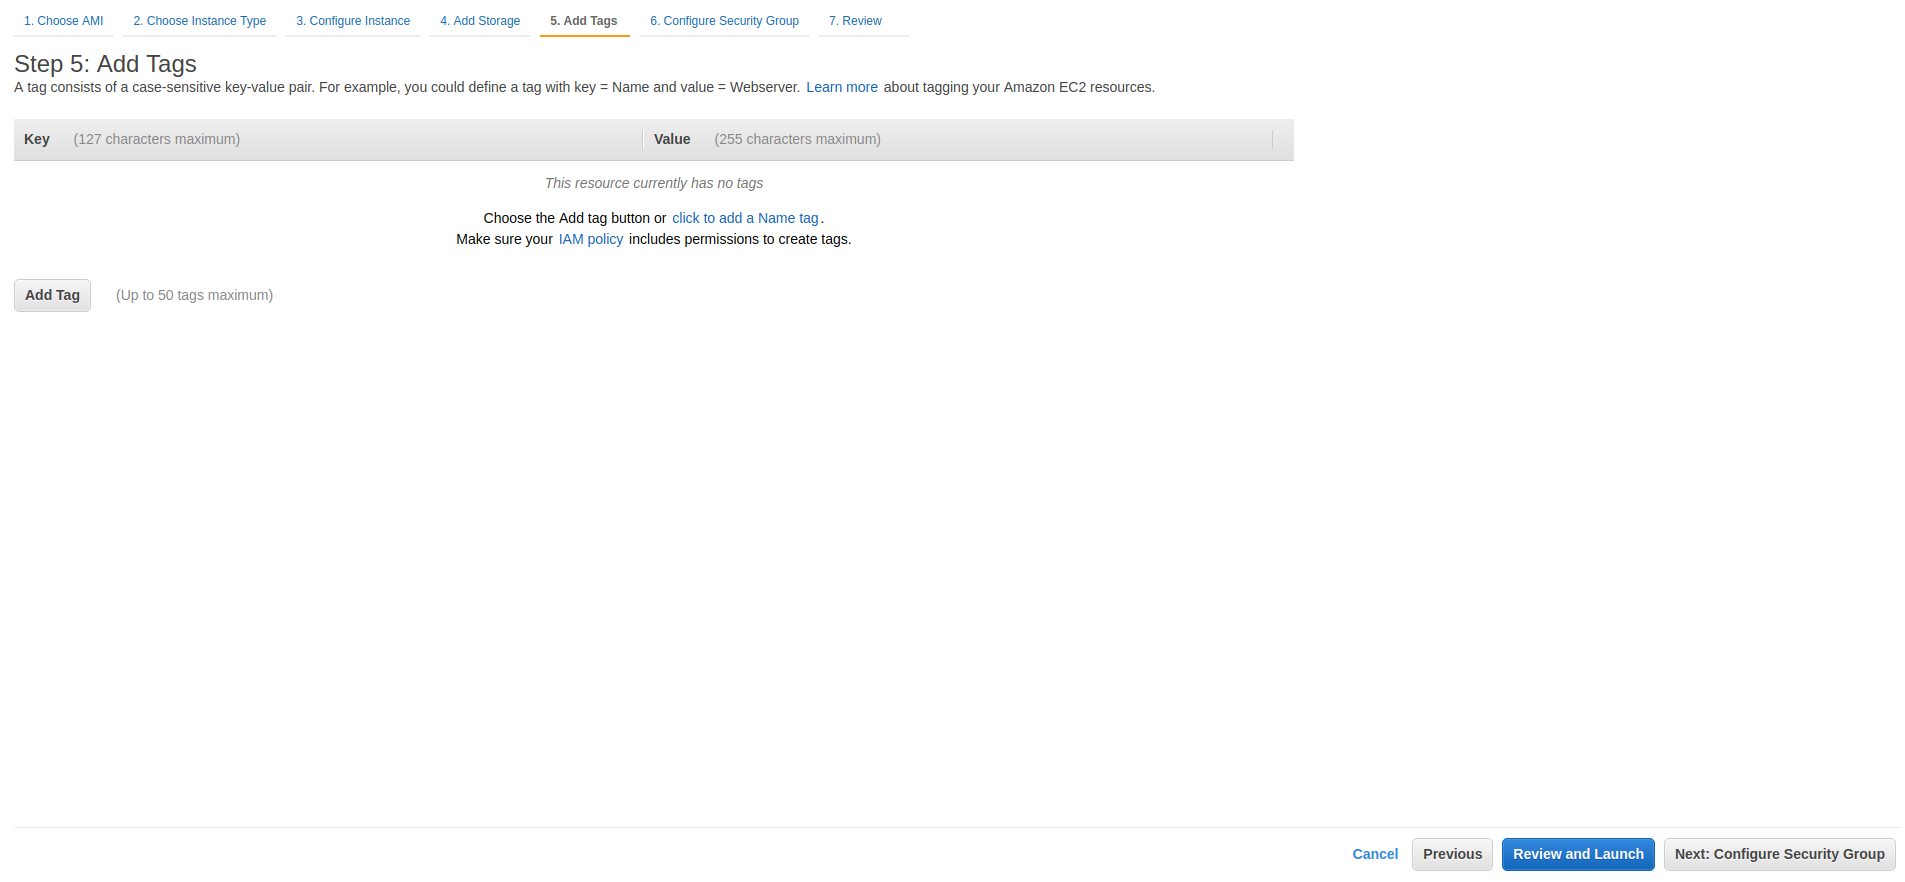
As any AWS resource, you can add tags to your instance. You should use the tag functionality, however it’s not mandatory.
TIP: TrackIt actively uses the tag functionality to monitor the costs.
Security Group
As shown in the picture, you have to open the SSH (22) and HTTP (80) protocol to use TrackIt.
1. Select Create a new security group
2. Change its name and its description
3. Click on Add Rule
4. Select HTTP in the type field
5. Click on Next
Instance Summary
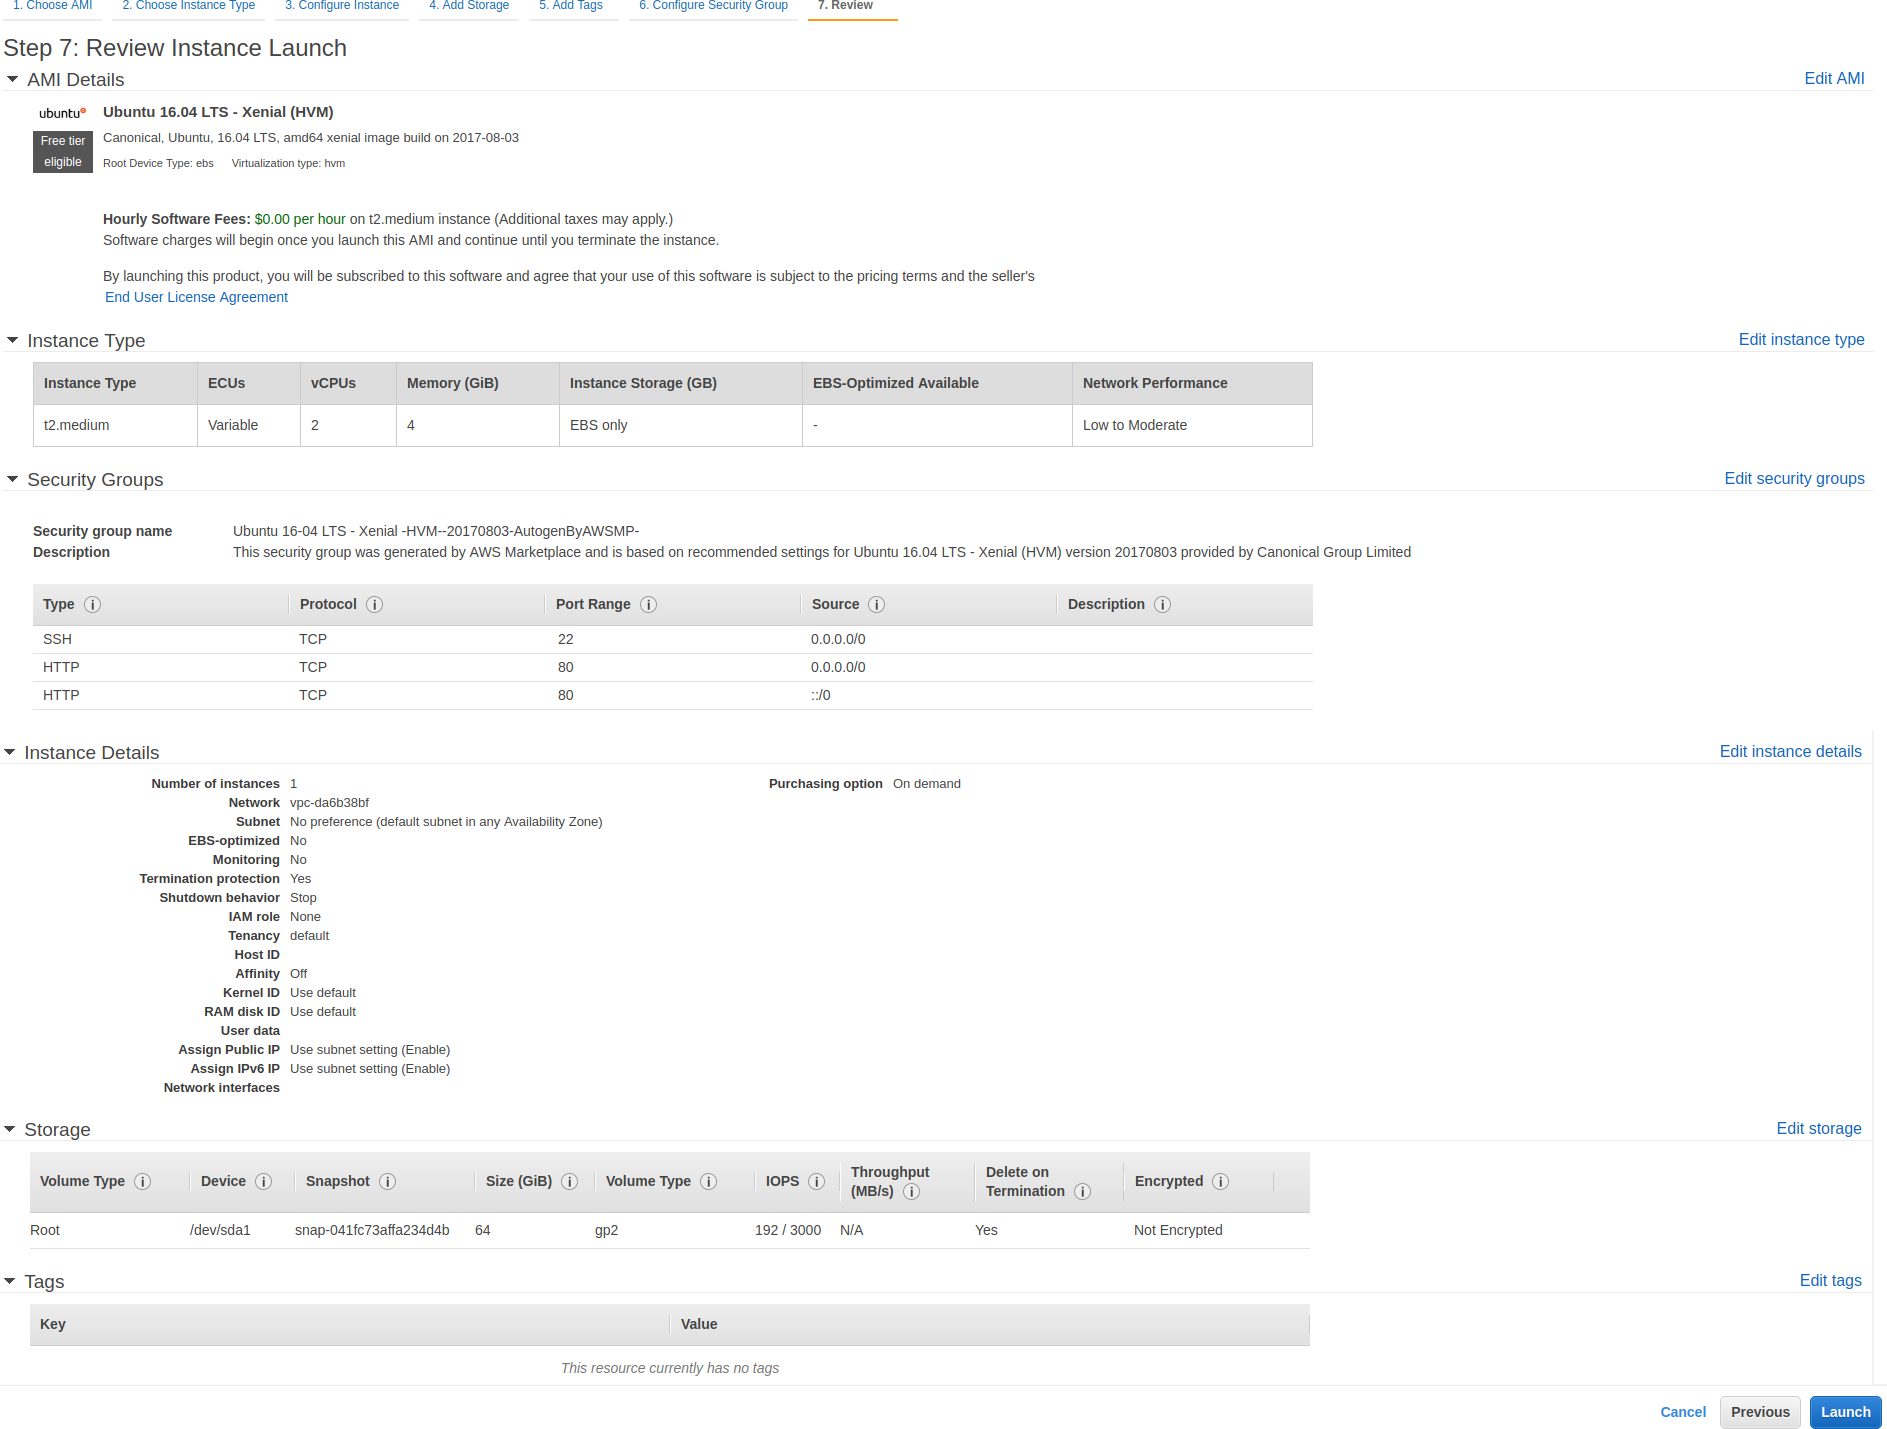
You should see a summary of all the settings applied before. Compare it to the picture above to make sure everything is correct.
If it is, click on Launch Instance.
Key Pair
If you aren’t familiar with the key pairs of AWS, follow exactly the instructions below.
1. Select Create a new key pair
2. Type a name, for example trackit-ec2-key-pair
3. Download it by clicking on Download Key Pair and save it somewhere safe
4. Click on Launch Instances
Installation Requirements
In this section you will install the requirements for TrackIt directly from the instance with SSH. Afterwards, you will be able to properly install TrackIt.
SSH
The key pairs you previously created are essential for this step. Indeed, we are going to connect to the EC2 instance. You have to get its Public DNS in the EC2 Console (see above).
gt; ssh ubuntu@[public dns] -i [key pair]
Which gives you
gt; ssh ubuntu@ec2-51-46-22-22.us-west-2.compute.amazonaws.com -i ~/Downloads/trackit-ec2-key-pair.pem
TIP: The key pair must be with the 400 permission. To set it, just type
gt; chmod 400 [key pair]
Docker
Docker is absolutely essential to make TrackIt work.
Follow the instructions to install Docker-CE (https://docs.docker.com/engine/installation/linux/docker-ce/ubuntu/) then Docker-Compose (https://docs.docker.com/compose/install/)
After this, run the command below to gain the permissions to use Docker.
gt; sudo usermod -a -G docker ubuntu
Preparing the instance to host TrackIt
Git clone
First, clone the TrackIt repository by typing:
gt; git clone https://github.com/trackit/trackit.git
gt; cd trackit
Host
Since you are on a headless machine, you have to set the environment variable TRACKIT_HOST indicating what IP TrackIt should use to run.
gt; export TRACKIT_HOST=[ip]
Which gives you:
gt; export TRACKIT_HOST=51.46.22.22
IP is shown in the EC2 Console beside Public DNS.
Run
To start TrackIt, just execute the run.sh script in the repository.
gt; ./run.sh
It will pull the images of TrackIt from Docker Hub to run it afterward.
How to use TrackIt
Login
If you go on http://[ip], for example http://51.46.22.22, it will display the login page. The default credentials are:
username: admin
password admin
New Key
The login page will redirect you to the page where you will be able to add a new key to TrackIt.
Let’s fill the information as below.
And click on Submit. If you don’t know to what information corresponds to the fields, you should check here https://trackit.io/#/app/setupguide
Enjoy!
Here we go! TrackIt is successfully installed in your AWS EC2 instance! Once a key is added, it will be red during the time TrackIt loads it.
The key is loaded after a few seconds, you can use TrackIt!
About TrackIt
TrackIt is an international AWS cloud consulting, systems integration, and software development firm headquartered in Marina del Rey, CA.
We have built our reputation on helping media companies architect and implement cost-effective, reliable, and scalable Media & Entertainment workflows in the cloud. These include streaming and on-demand video solutions, media asset management, and archiving, incorporating the latest AI technology to build bespoke media solutions tailored to customer requirements.
Cloud-native software development is at the foundation of what we do. We specialize in Application Modernization, Containerization, Infrastructure as Code and event-driven serverless architectures by leveraging the latest AWS services. Along with our Managed Services offerings which provide 24/7 cloud infrastructure maintenance and support, we are able to provide complete solutions for the media industry.


