pfSense is an open source firewall/router based on FreeBSD. It can however do much more than that, and assume the role of DNS, VPN, DHCP and more.
Installing an ESXi pfSense here is used primarily as a IPSec VPN endpoint, but at the same time it will be used as a firewall/router/DHCP.
This guide will focus on installing pfSense on a dedicated host for ESXi, with multiple IP’s, with one dedicated to pfSense, as there are some pitfalls to the installation of pfSense with a dedicated IP.
Prerequisite:
– ESXi installed and configured on the dedicated host.
– Access to the ESXi to do the network configuring on the VM’s
– A dedicated IP for the pfSense VM. In this case we are using a failover IP from OVH, which permits multiple IPs for the same host.
– A second dedicated IP to permit SSH access to a VM that will be in the LAN of the pfSense VM, to permit access to the web configurator (might not be necessary, but that’s what we will be using in this guide).
Network setup
The first step will be to configure the network on the ESXi to prepare for the pfSense VM.

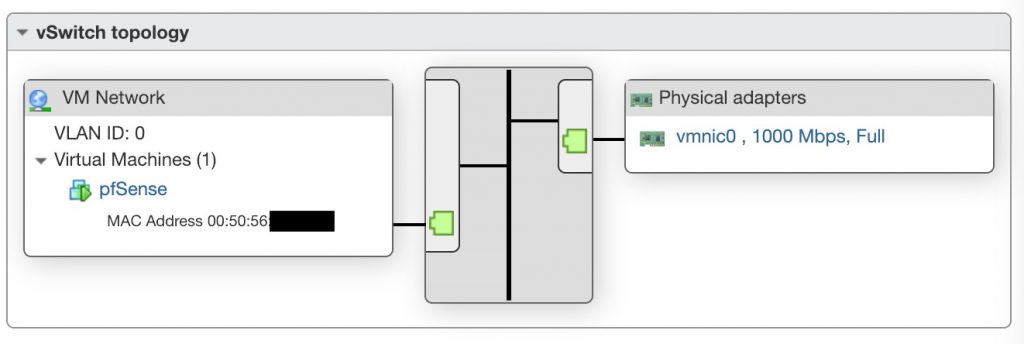
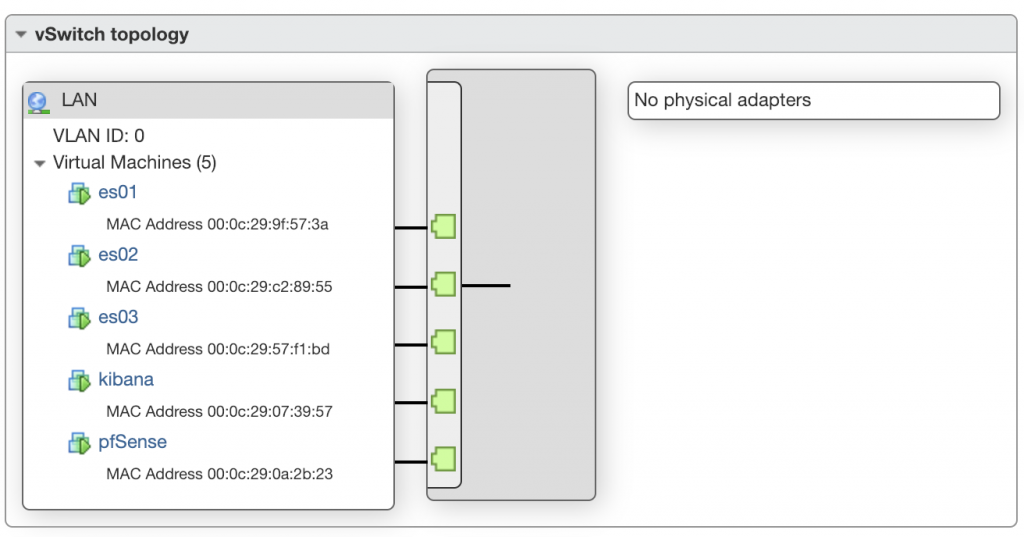
We firstly create two vSwitches. A vSwitch is a virtual switch in ESXi, which will permit us to separate the two networks we will create.
The first one, which is here named vSwitch0, will be the WAN network for the pfSense host. It is connected to the physical NIC of the ESXi host.
The second one, which is here named LAN, will be our LAN network, which is not connected to any physical NIC on the host, since the pfSense VM will act as a router, all of the connection to the outside will need to go through pfSense.
Once the vSwitches are created, we need to create port group on each vSwitch, to attach the VM’s to.

pfSense installation
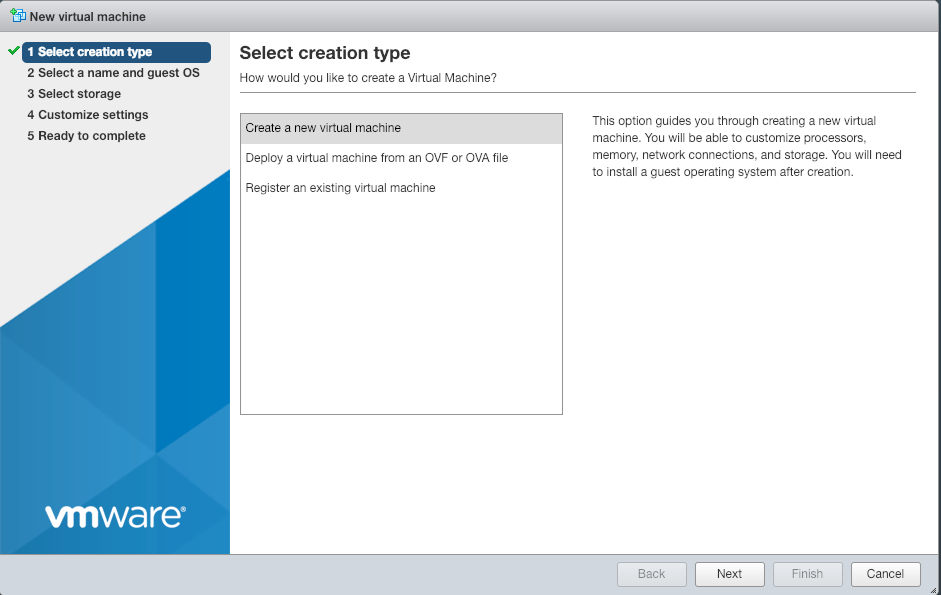
You will first need to create the VM in ESXi.
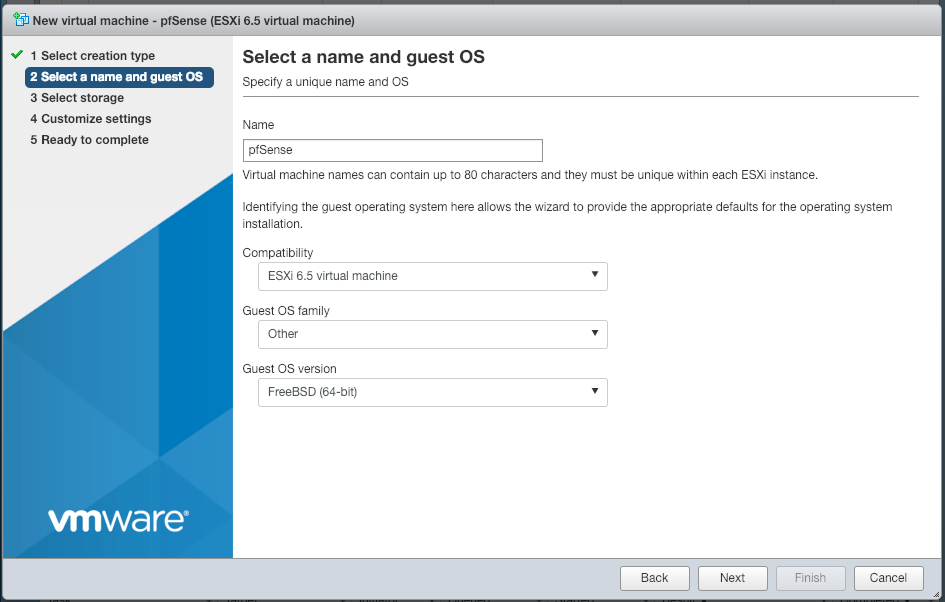
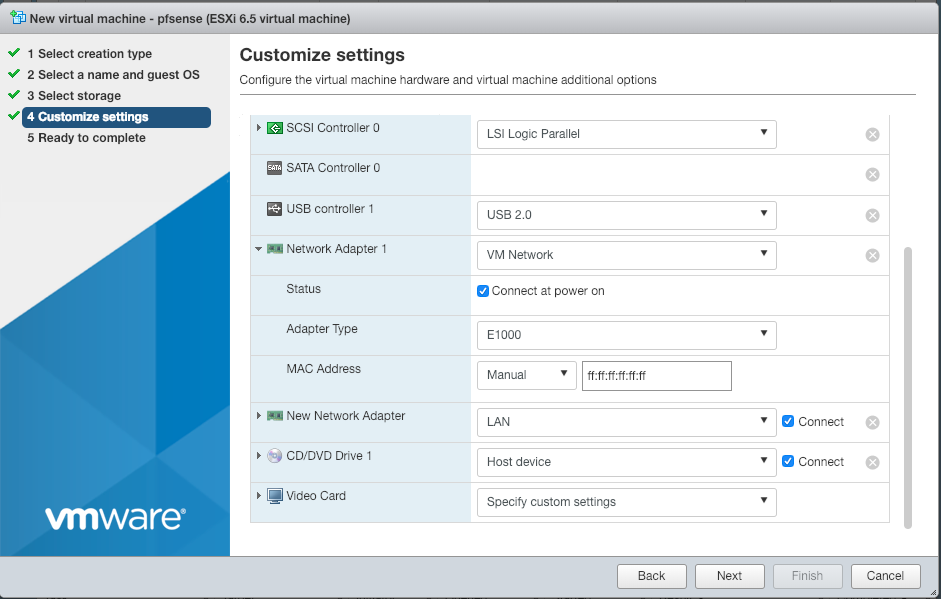
Then, when customising the settings of the VM, you need to setup the two network adapter, one to connect to LAN, and one to connect to the WAN network.
When configuring the WAN interface, you need to set the MAC address manually, with the one given to you with the dedicated IP.
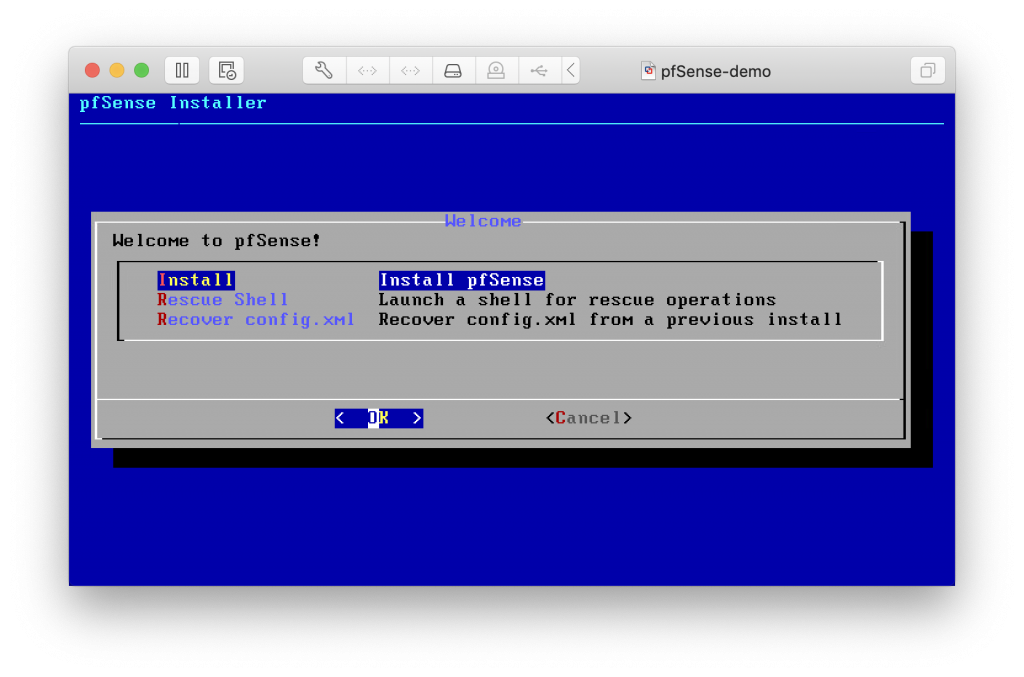
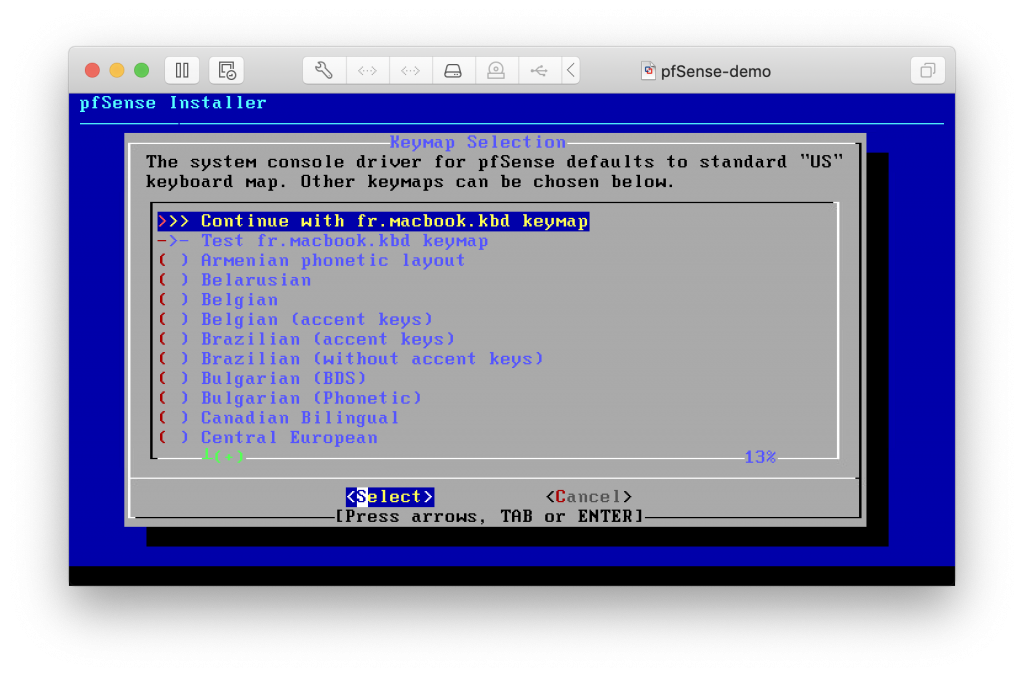
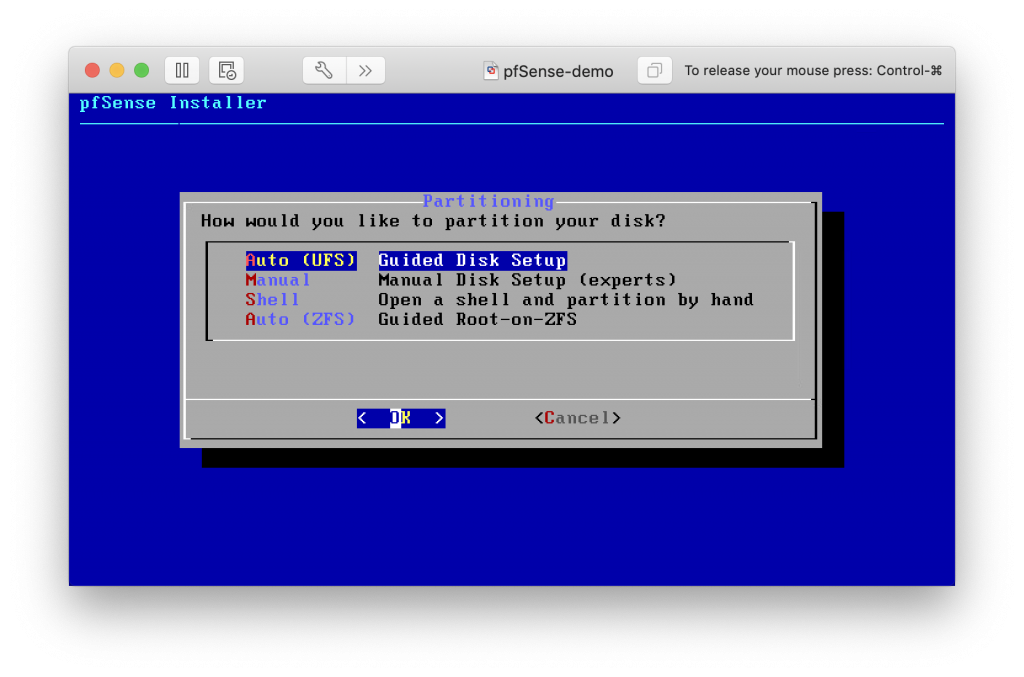
Once everything is setup, you can install pfSense on the VM, with default settings during the installation.
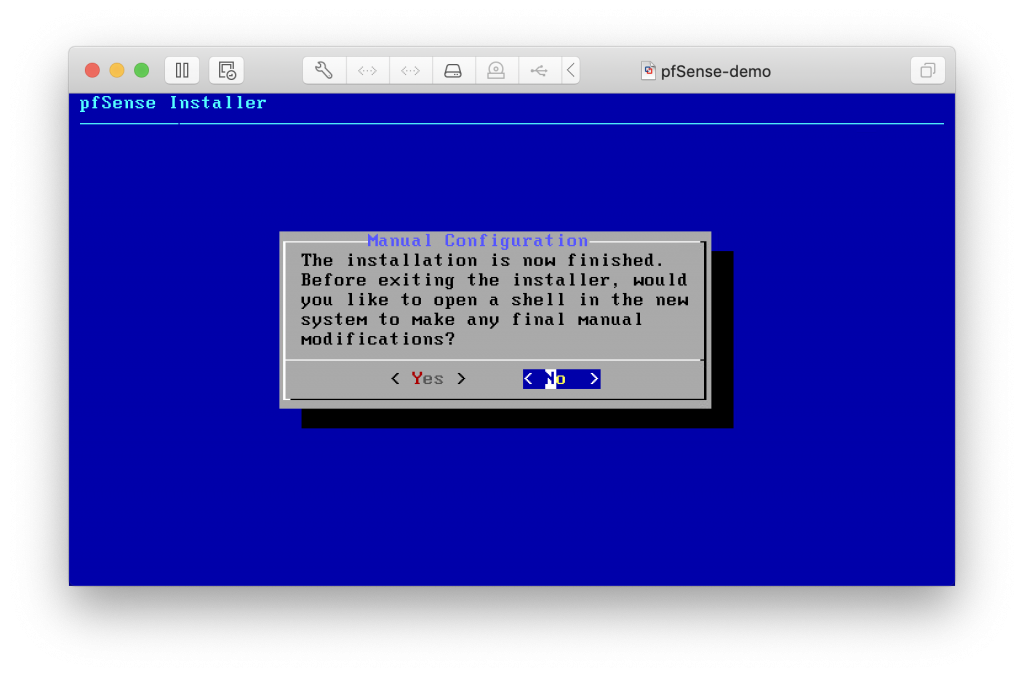
pfSense configuration
Once booted into your system, you should see this screen :
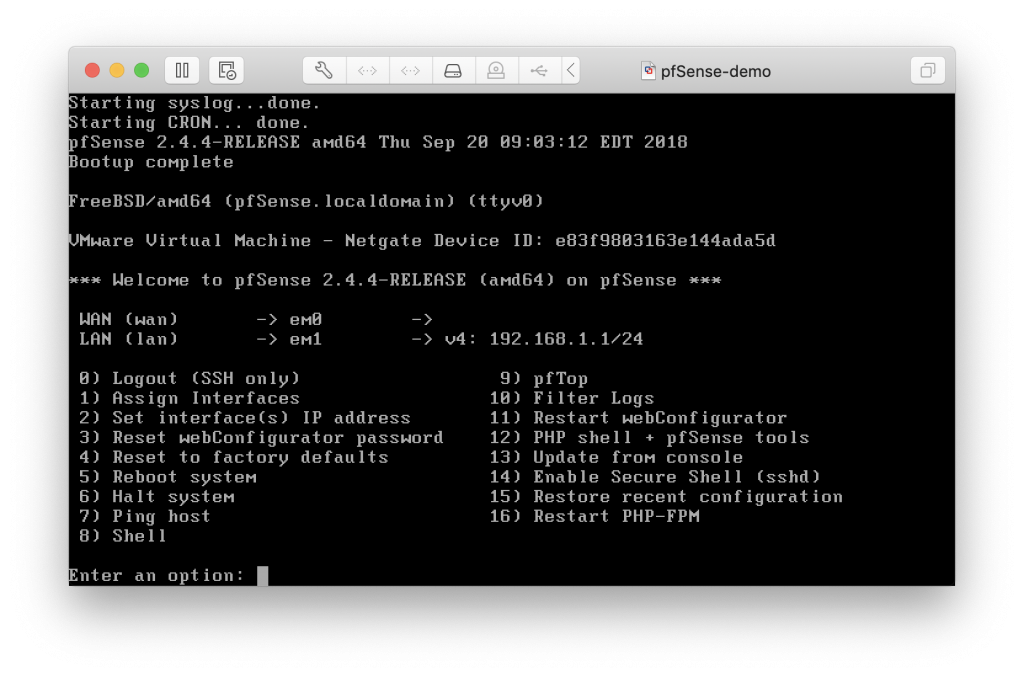
You can see that the interfaces were auto-detected by pfSense, and it configured the LAN network, but not the WAN.
We won’t be able to configure the WAN interface from the console, as it does not allow a subnet of /32 to be created from the console.
What we will want to do is access the shell (option 8), and manually configure the routes to get access to internet.
So select the shell, and input those commands:
route del default
This will remove the default route that pfSense configured.
route add -net 42.42.42.1/32 -iface em0
You will need to replace 42.42.42.1/32 with the IP of the dedicated ESXi host, replacing the last byte with 1.
This will add a the default route to the interface em0 (your WAN interface).
route add default 42.42.42.1
This will add the previously created route as a default route for your pfSense system.
Access the WebConfigurator
Once this is done, you will need to access the webConfigurator, which is only accessible on the LAN of the pfSense.
To do this, we’ve launched an Ubuntu VM, that also has two network cards, one connected to the LAN network, and one connected to the same WAN network as the pfSense VM.
The goal here, is to have outside access to the Ubuntu VM, to be able to make a SSH port redirection to our machine, to get access to the webConfigurator.
The DHCP server is already running, so we can just set the interface to DHCP, and it will give us an IP and setup the routes.
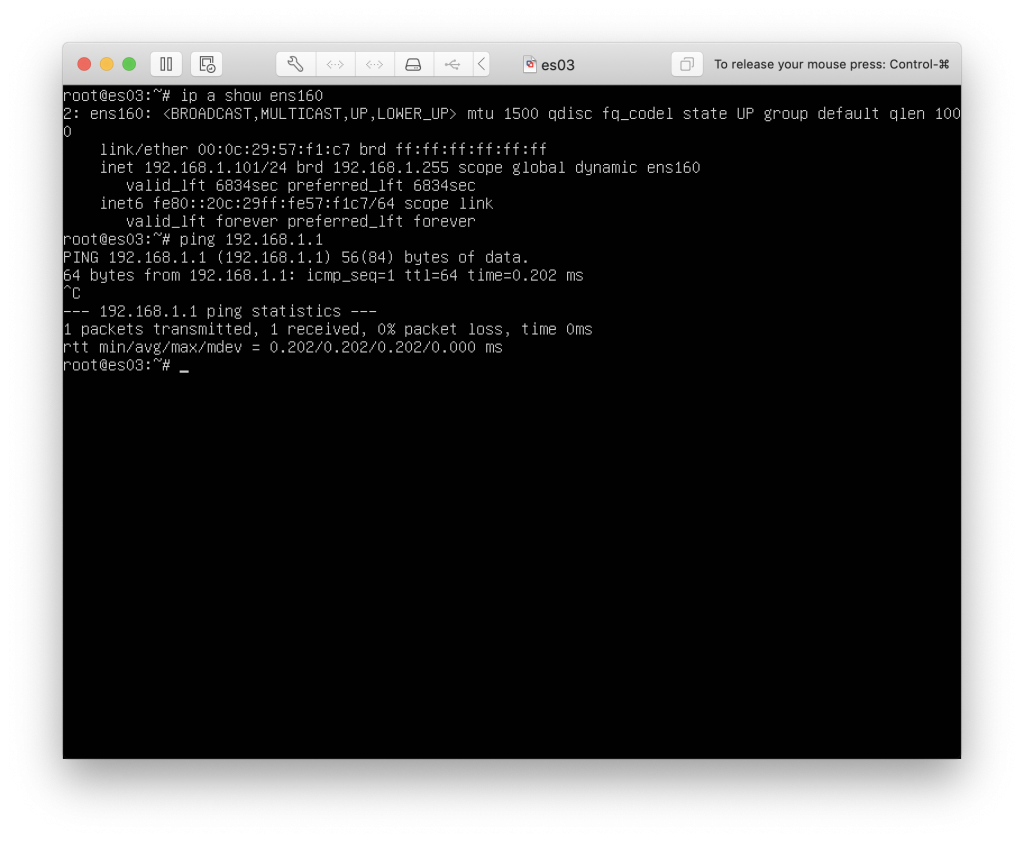
Now we need access from the outside, so we setup the dedicated IP on the WAN interface on the Ubuntu VM, and setup the routes in the same way as the pfSense VM.
Once we do that, we now have access to internet on the Ubuntu VM :
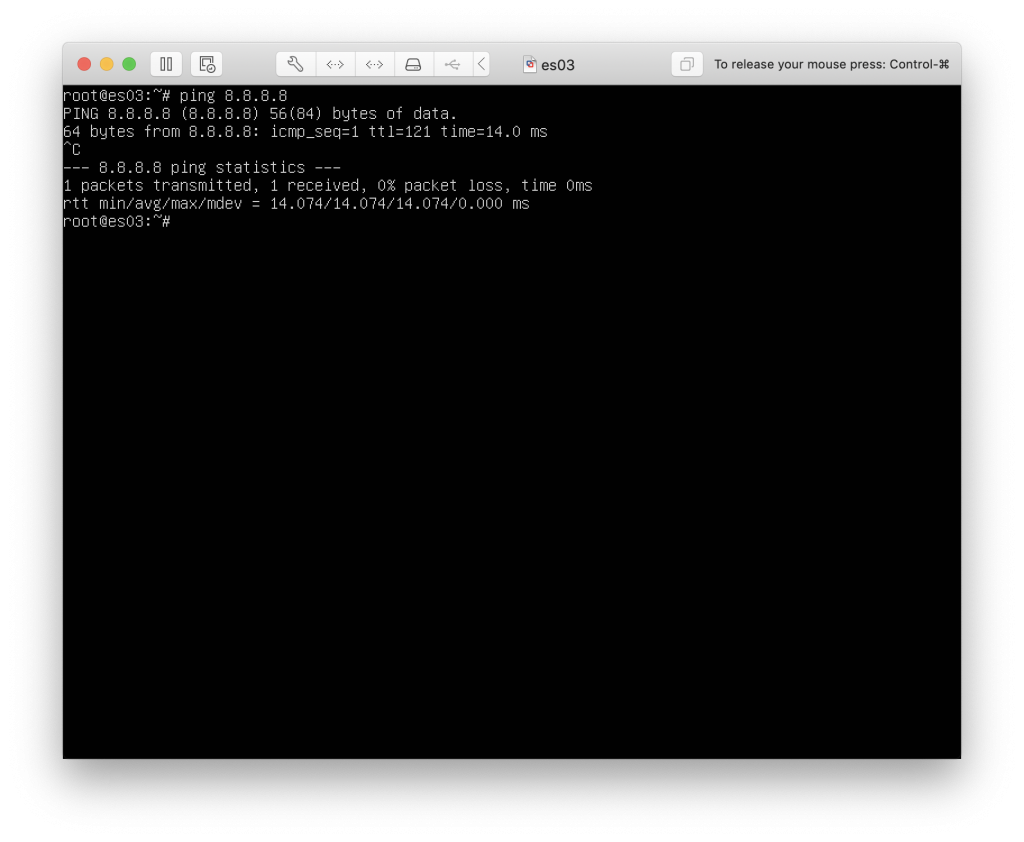
Since we have access to the outside and we configured the public IP, we can now SSH into the machine, and redirect the port 443 on the pfSense server to our PC, so that we can access the webConfigurator.
To do that we redirect the port via a SSH command :
ssh -vNL 8080:192.168.1.1:443 user@server
And now if we visit 127.0.0.1:8080, we should be able to see this screen
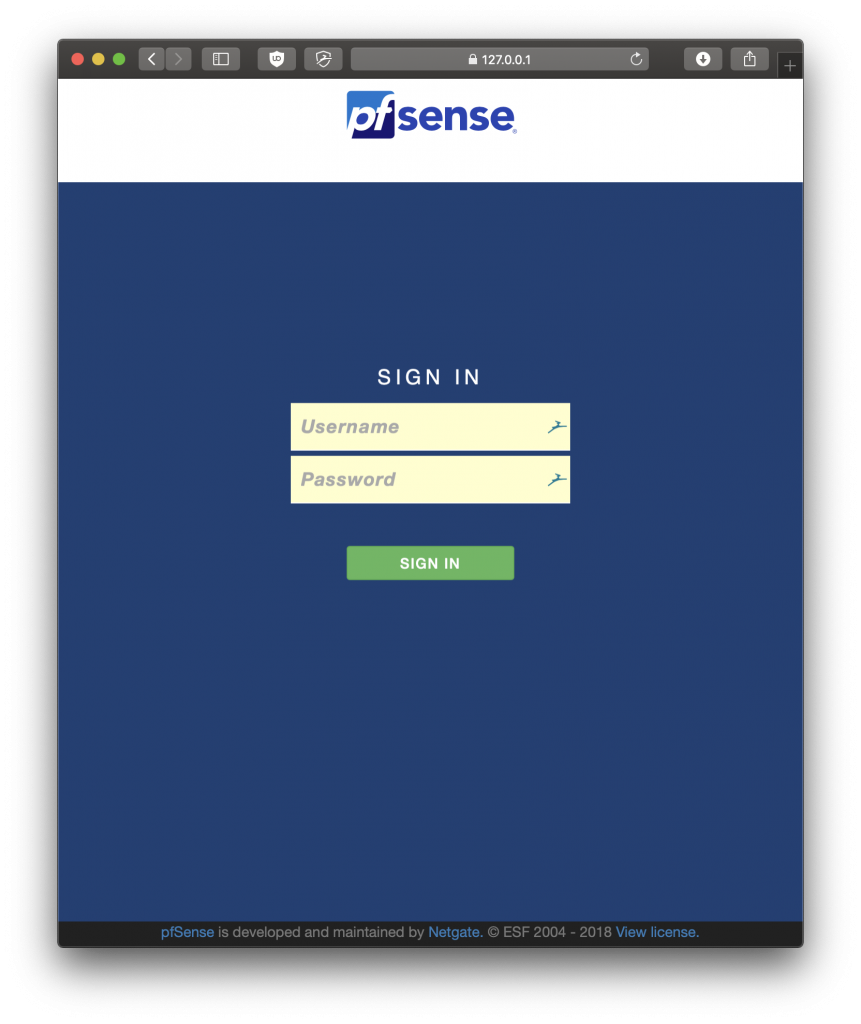
We can now login with the default credentials : admin/pfsense
Configuring pfSense
The first time you connect to the webConfigurator, you will have access to the setup assistant.
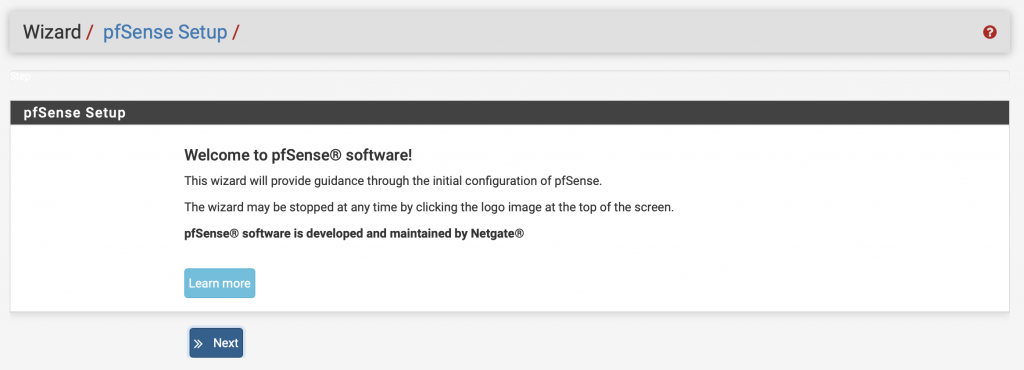
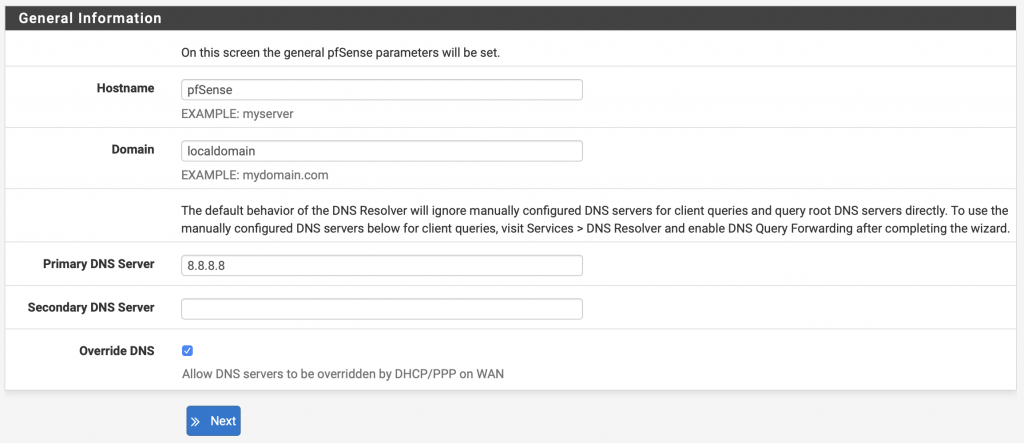
Click on Next

Select the Timezone
Click on Next

Select Static


The gateway must be the IP address of your ESXi host, replacing the last byte with .1
Leave the rest blank, and click on Next
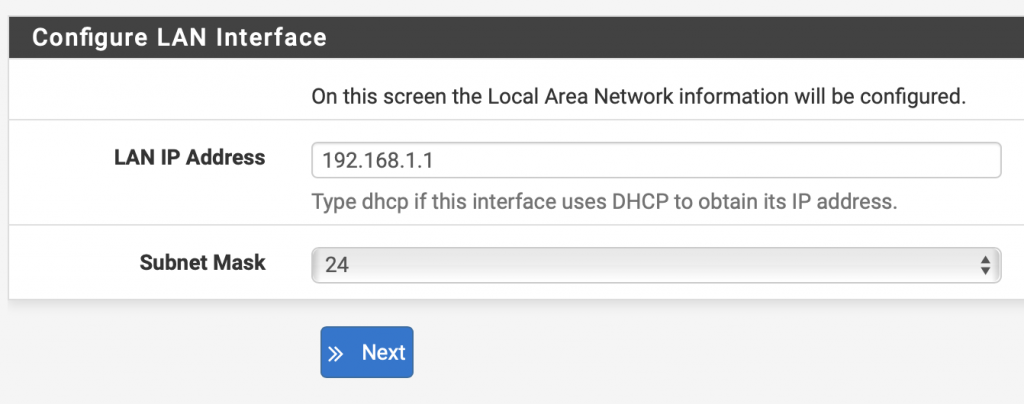


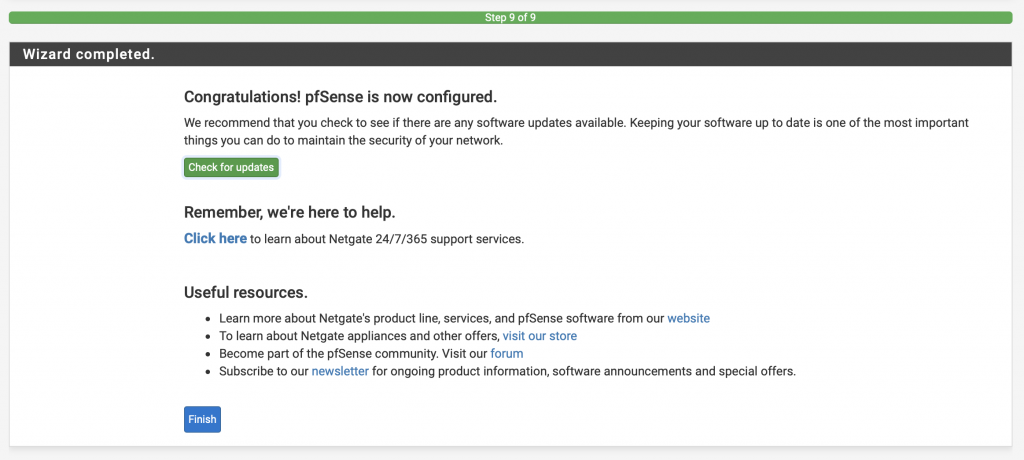
Now that the initial setup is complete, we will need to configure some NAT rules, so that the LAN network can access internet, and make the routing rules permanent.
Note: after configuring the WAN interface, pfSense might delete the route that you previously set manually, in this case you need to enter them again.
Make the routing rules persistent
Because our routing rules are added manually, and will not survive a reboot, we need to execute these commands at boot.
Fortunately, there is a package in pfSense that will allow us to do that.
To install this package, go to System -> Package Manager -> Available Packages
Search “shellcmd” and install it

Once installed, go to Services -> Shellcmd and add the two routing commands

Your internet access will now work after a reboot.
NAT configuration
For the LAN network to access internet, we need to configure the NAT.
Go to Firewall -> NAT -> Outbound
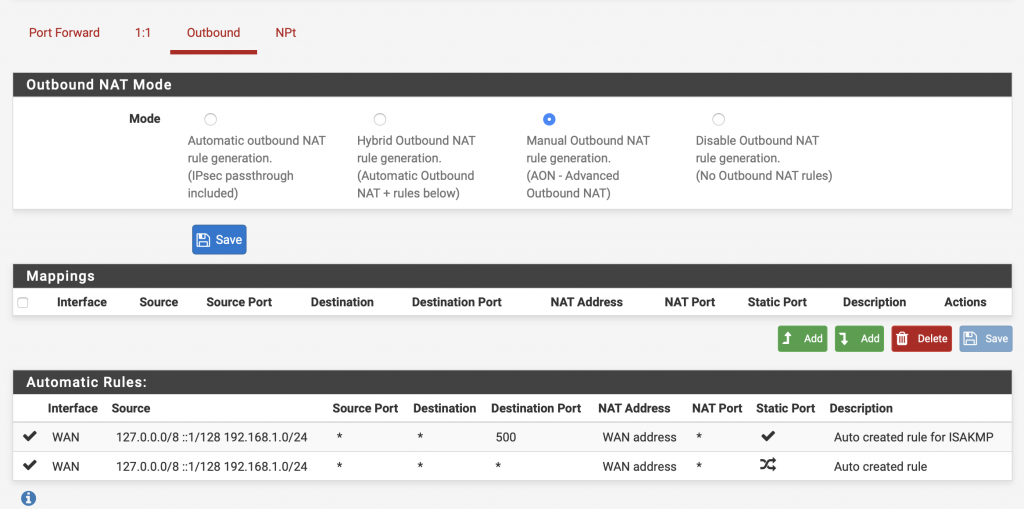

We will now create our own NAT rule.
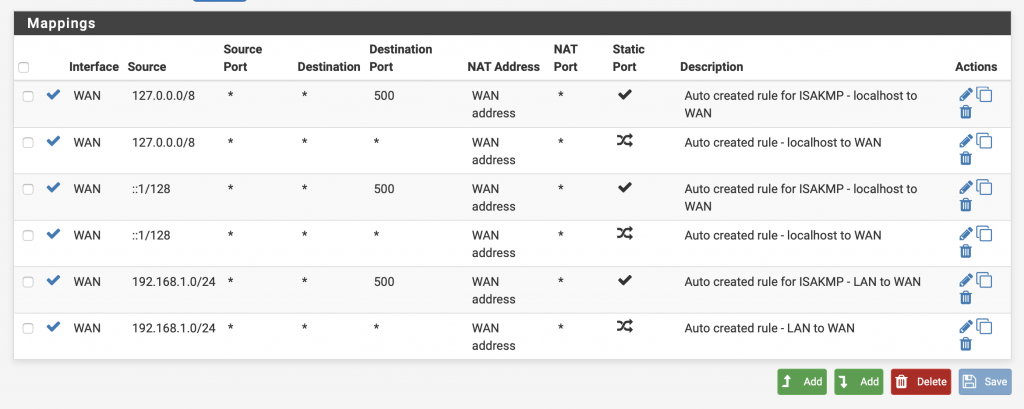
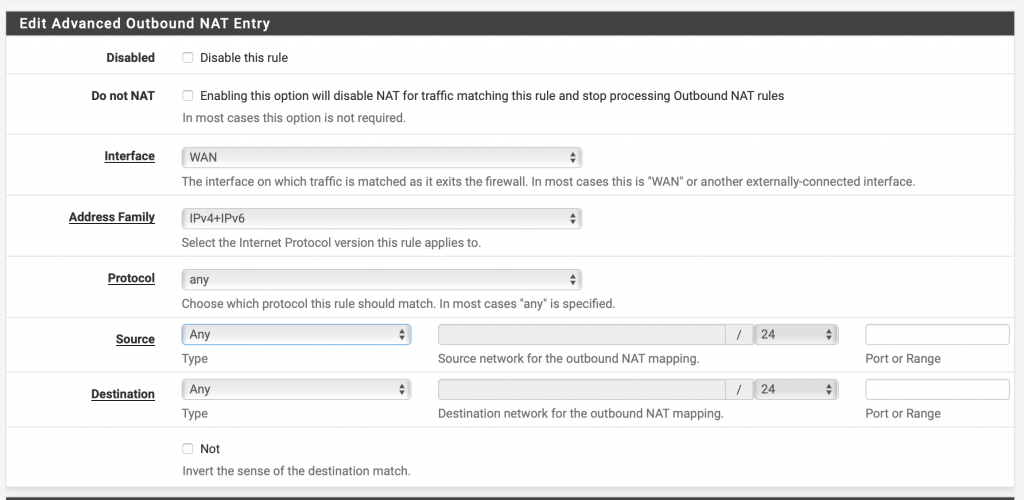
Select the following parameters
– Interface: WAN
– Protocol: any
– Source: any
– Destination: any
Click then on Save
Apply the changes.
The pfSense VM is now configured as a router for the LAN network with a dedicated IP.
AbouAbout TrackIt
TrackIt is an international AWS cloud consulting, systems integration, and software development firm headquartered in Marina del Rey, CA.
We have built our reputation on helping media companies architect and implement cost-effective, reliable, and scalable Media & Entertainment workflows in the cloud. These include streaming and on-demand video solutions, media asset management, and archiving, incorporating the latest AI technology to build bespoke media solutions tailored to customer requirements.
Cloud-native software development is at the foundation of what we do. We specialize in Application Modernization, Containerization, Infrastructure as Code and event-driven serverless architectures by leveraging the latest AWS services. Along with our Managed Services offerings which provide 24/7 cloud infrastructure maintenance and support, we are able to provide complete solutions for the media industry.

